The primary way to interact with atopile locally is via the VS Code extension. We also support forks like Cursor or Antigravity.

1. Install Preferred VS Code Fork

2. Install Extension

Once you have a VS Code editor, search for the extension or install by clicking atopile extension.
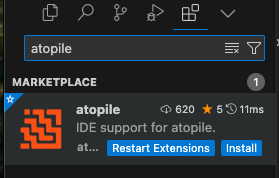
 atopile extension Once the extension is installed, you might see a popup for uv installing. Allow that to finish. atopile extension installing Complete! atopile extension installed You will now have a fresh new atopile icon in your sidebar. Click it to open the extension and get started. atopile extension overview

3. Install KiCAD

If you want to layout or route PCBs you will need to install KiCAD.
brew install kicad

4. Done!

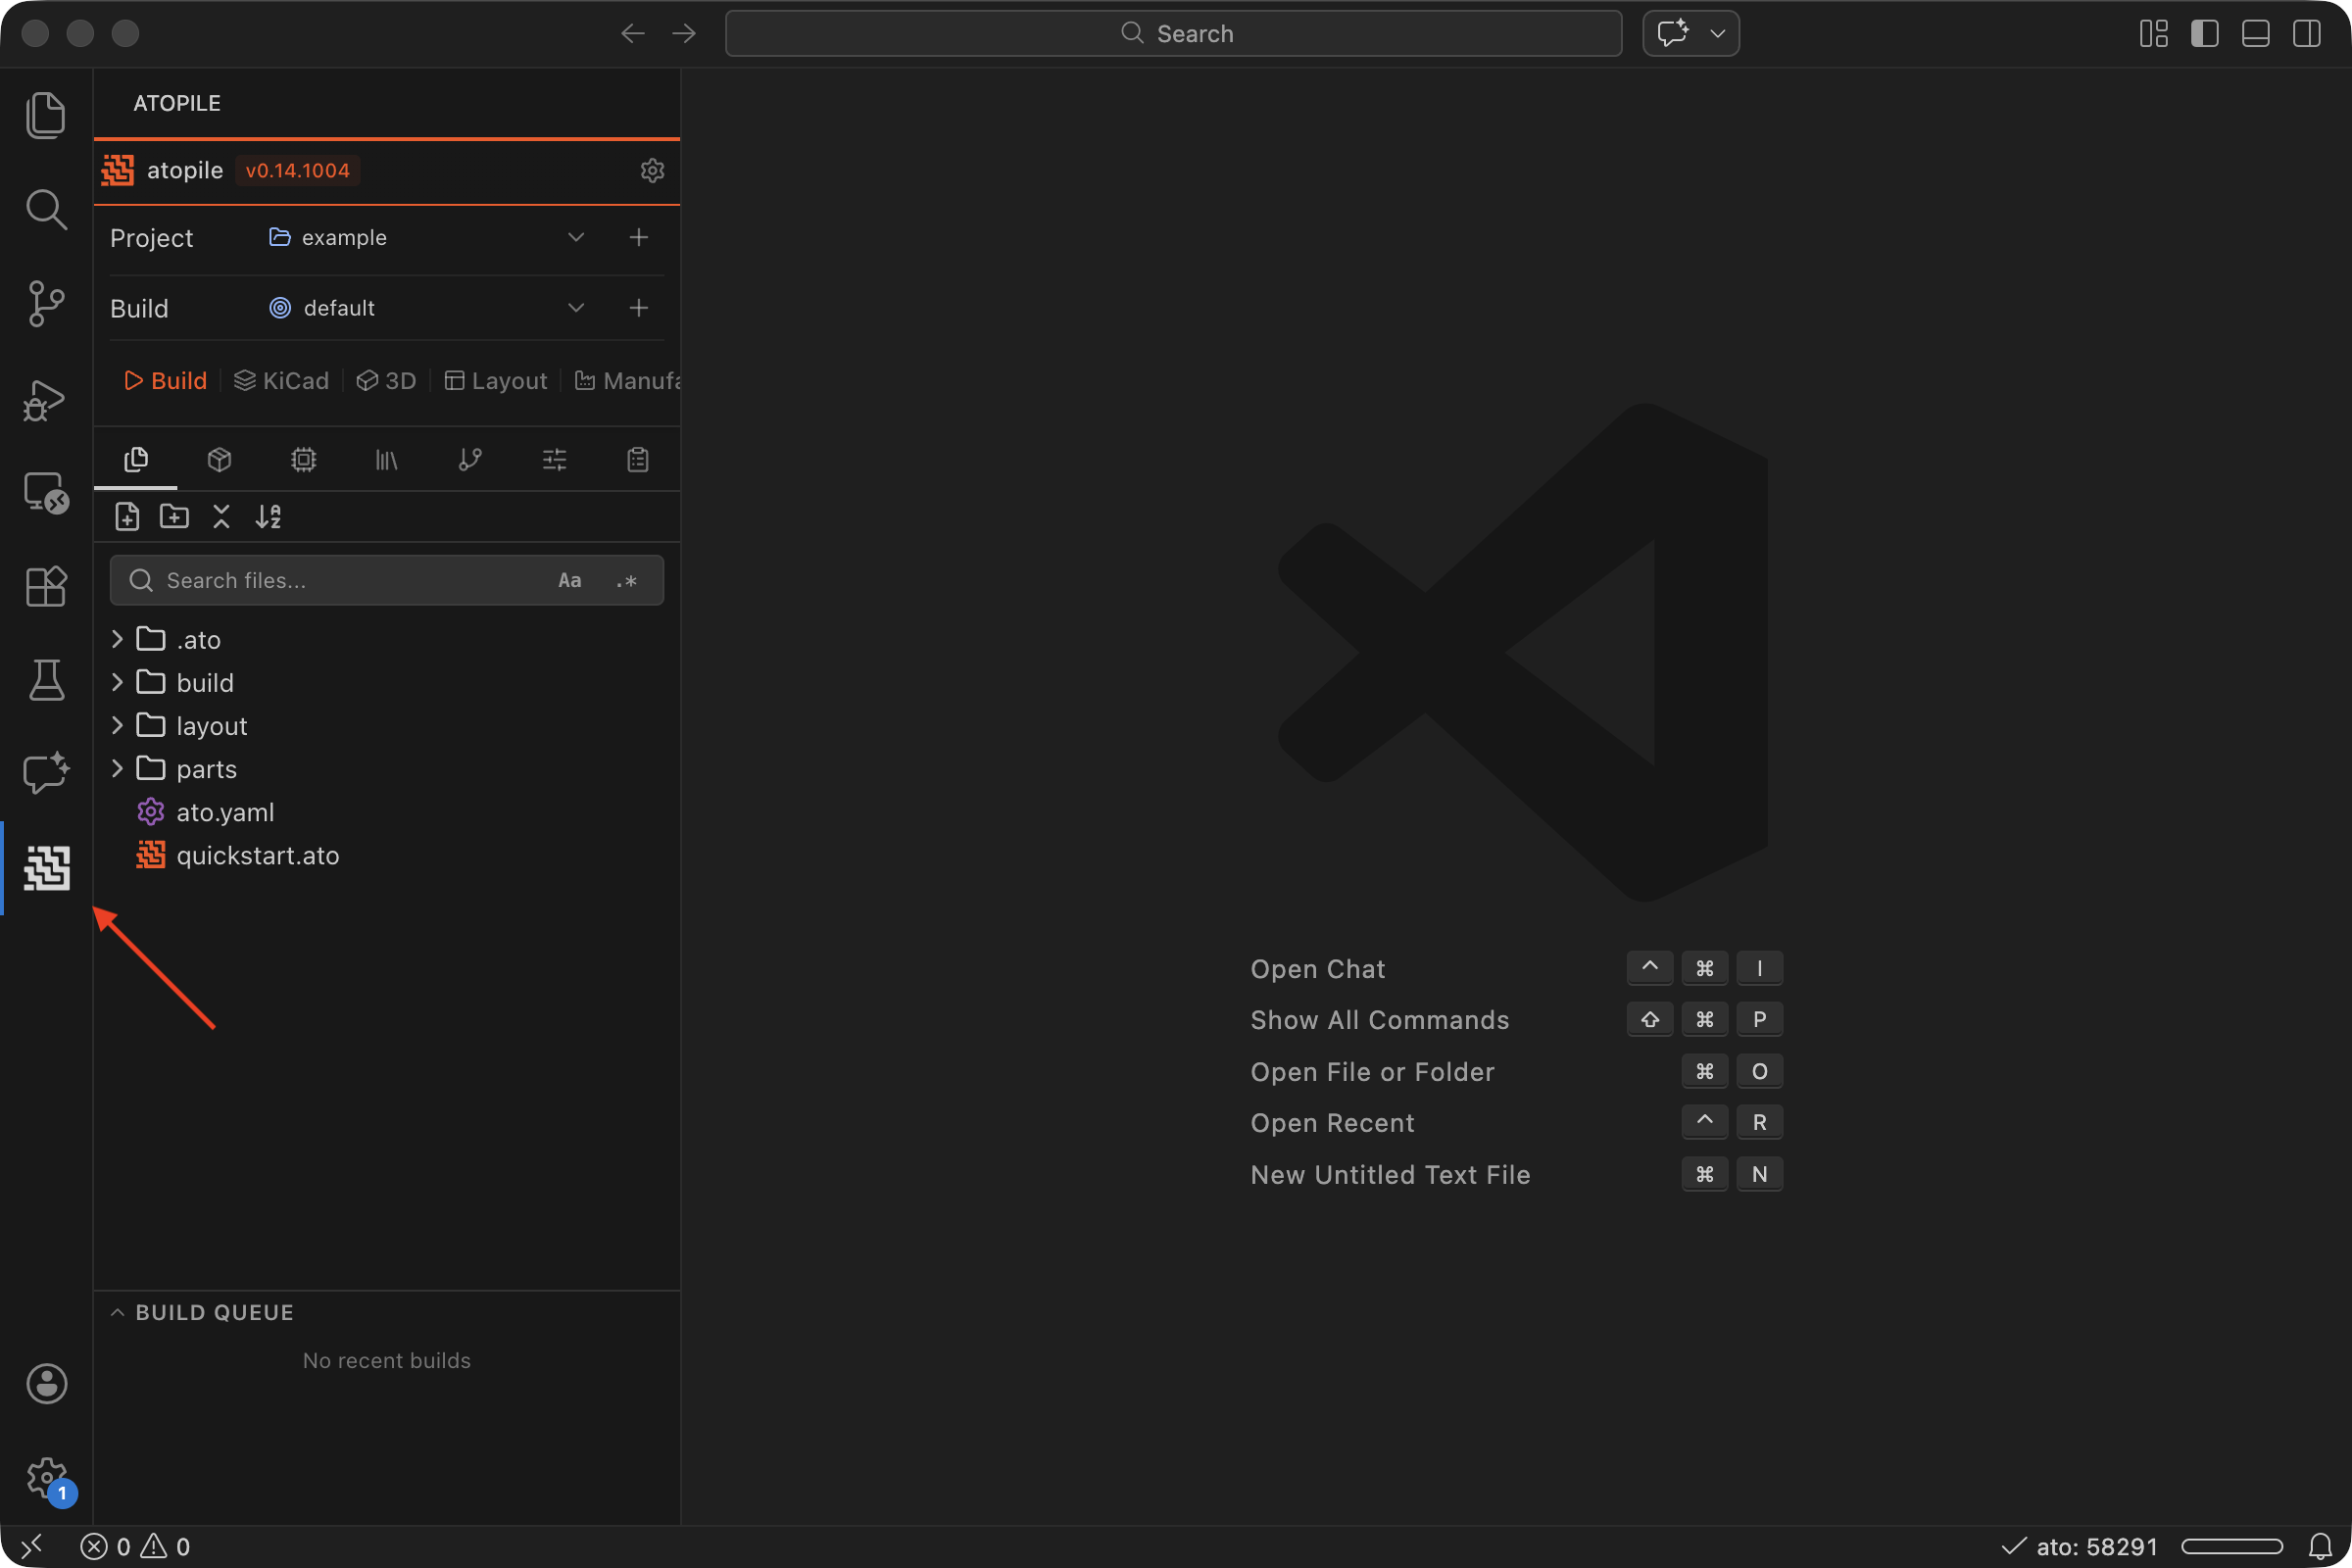
Great! At this point you can move on and create your first project.

Other Install Methods (Optional)

brew install atopile/tap/atopile
  1. Install uv https://docs.astral.sh/uv/getting-started/installation/
  2. Install atopile with uv
    uv tool install atopile
    
    If this is the first time you’ve used uv for a tool install, it might give you another command to run to finish setup.Do it.
  3. Check ato installed
    ato --version
    

Editable Installation (best for development)

  1. Install uv (see above)
  2. Clone the repo
    git clone https://github.com/atopile/atopile
    
  3. cd into the repo
    cd atopile
    
  4. Install
    uv sync --dev